By The Zagosa Team. Published .
Reviewed or updated .
Plenty of British homeowners underestimate just how much planning goes into setting up a hot tub for the first time. From choosing the site to keeping the water sparkling, every decision shapes the safety and comfort of your new spa retreat. With modern hot tubs weighing up to 1500 kilograms once filled, careful placement and reliable water care are not optional. Here you will find practical steps and clear guidance built around British standards, helping you set up and maintain your tub with quality products for lasting peace of mind.
In This Guide
- Step 1: Check Your Hot Tub Site
- Step 2: Position The Tub Safely
- Step 3: Connect The Electrics And Plumbing
- Step 4: Fill And Treat The Water
- Step 5: Check The System And Chemical Balance
A Quick Look
| Essential Insight | Clarification |
|---------|-----------|
| 1. Check Site Stability | Make sure the ground is level and stable enough to hold the tub's weight. Use reinforced concrete or a solid deck. |
| 2. Put Safety First | Run a thorough risk assessment to reduce hazards like electrical faults and slips. Keep access pathways clear for safety and upkeep. |
| 3. Professional Electrical Connection | Only qualified electricians should install the electrics, meeting UK safety standards and providing proper circuit protection. |
| 4. Keep the Water Right | Test and treat the water regularly to balance pH and keep it sanitised for a safe soak. |
| 5. Verify the System | Routinely check the tub's functions and water quality to keep performance high and head off long-term problems. |
Step 1: Check Your Hot Tub Site
Choosing the right spot for your tub is crucial for safety, comfort and long-term enjoyment. This step is about weighing up the possible sites around your property to get the placement right and keep the risks low.
Start by examining the ground surface. You need a completely level, stable area that can hold significant weight. Concrete, reinforced decking or a professionally built patio are ideal. Steer clear of uneven ground, soft soil or areas that waterlog. Think about how close it is to the house for convenience, but keep at least 1.5 metres away to prevent moisture damage to your foundations.
Safety has to come first. Conduct a comprehensive risk assessment covering electrical safety, potential slip hazards and accessibility. Check for overhead power lines and nearby electrical outlets, and make sure the area drains well. The site should have clear access from all sides for easy entry and exit, with enough room to carry out upkeep.
Expert Guidance Measure your intended space carefully before purchasing a hot tub to guarantee a perfect fit and smooth installation process.
Step 2: Position the Tub Safely
Positioning your tub takes careful planning and thought to get both function and safety right. This step is about picking the best location so you get the most from it while keeping risks and installation headaches to a minimum.
Start with weight distribution and structural support. Hot tubs are incredibly heavy and can weigh up to 1500 kilograms once filled with water and bathers. Your chosen surface must be professionally reinforced concrete, a robust deck built to commercial load standards, or a purpose-made hot tub pad. Avoid wooden decks not engineered for extreme weight, or uneven ground that could make things unstable. Aim to place the tub where drainage is good, to stop water pooling and damaging the foundations.
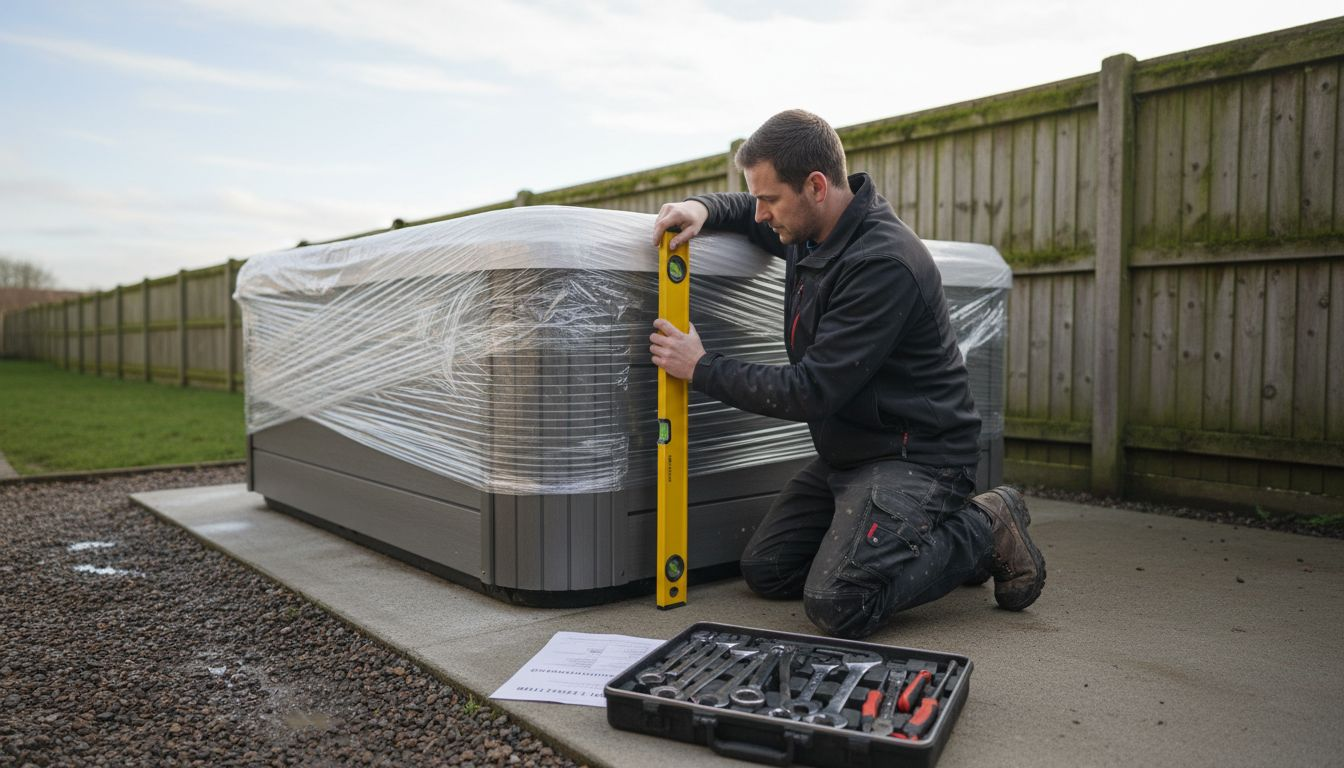
Access and safety are paramount. Keep clear pathways around all sides of the tub for upkeep and emergency access. Create a non-slip surface with textured outdoor tiles or purpose-built decking. Think about how close it is to the house for convenience while keeping enough distance to prevent moisture damage. Implement safety protocols by fitting adequate lighting and handrails, and make sure the area is free of overhead obstacles like tree branches or electrical wires.
Expert Recommendation Invest in a professional structural assessment to confirm your chosen site can safely support your hot tub’s total weight and usage requirements.
Step 3: Connect the Electrics and Plumbing
Connecting the electrics and plumbing is a critical stage that needs professional expertise and strict compliance with safety rules. This step makes sure your tub runs safely and efficiently while meeting all UK electrical standards.
Electrical installation is not a DIY job. UK electrical guidelines mandate professional installation with specific requirements for hot tub circuits. You will need a qualified electrician to install a dedicated outdoor circuit with Residual Current Device (RCD) protection. The circuit must be designed to handle the tub's power needs, typically between 32 and 40 amperes. Make sure the electrician uses waterproof external sockets rated for outdoor use, positioned at least 3.5 metres from the tub to prevent electrical hazards.
The plumbing needs the same precision. Your tub needs a reliable water source for the initial fill and ongoing upkeep. Position a garden hose connection nearby with enough length to reach comfortably. Consider fitting a drain point close to the tub to make water changes and cleaning simpler. Confirm your chosen location gives easy access to water and drainage without creating trip hazards or the risk of water damage to nearby structures.
Expert Recommendation Always employ a certified electrician registered with a competent persons scheme to guarantee your hot tub electrical installation meets all legal safety requirements.
Step 4: Fill and Treat the Water
Filling and treating the water is a crucial process that decides the overall quality of your soak. This step needs careful attention to the chemistry, the volume and the right chemical treatment for a safe, enjoyable spa.
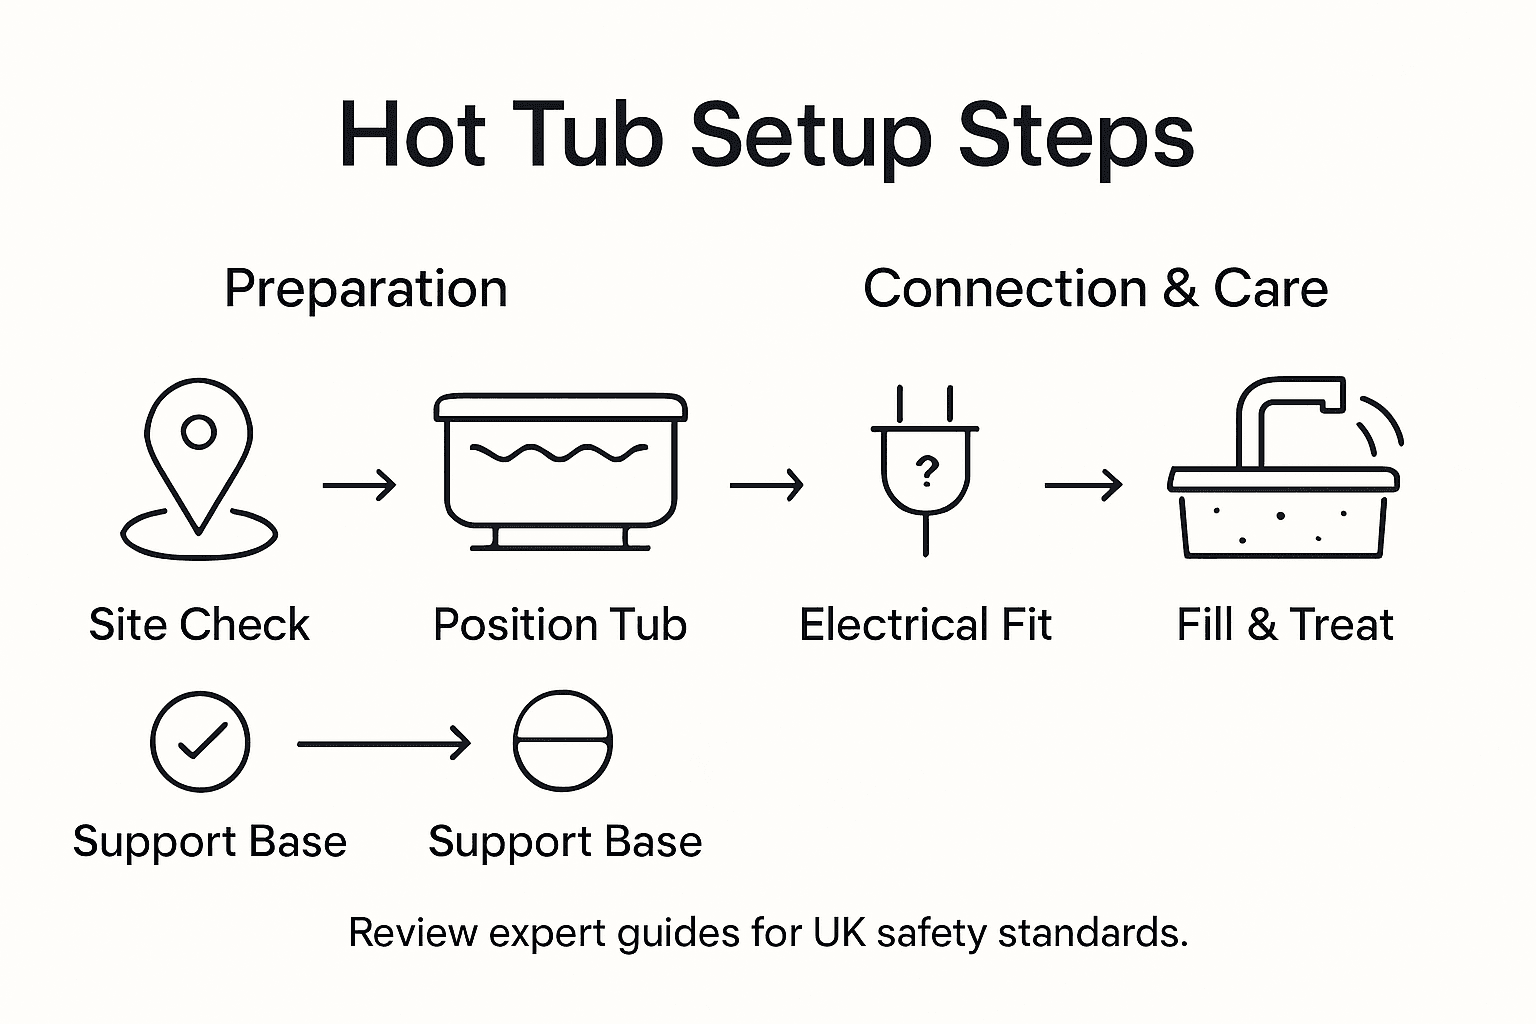
Begin by filling the tub with clean water using a garden hose set to reach the water inlet. Fill slowly to avoid air locks in the plumbing, bringing the level to roughly 2.5 centimetres above the highest jet. Once filled, carefully balance your water chemistry by testing the pH with a reliable digital kit. Aim for a pH between 7.2 and 7.8 for comfort and to protect the equipment. Add pH increasers or decreasers as needed to get the balance right.
Next, add the right sanitising chemicals to clear bacteria and keep the water hygienic. Chlorine or bromine are the most common choices. Start with the recommended dose based on your tub's volume. Let the chemicals circulate for at least 20 minutes with the jets running so they spread evenly. Check the sanitiser levels regularly and adjust as required to keep the water safe and clean.
Here is a comparison of common sanitising chemicals to help you choose the one that suits you:
| Chemical Type | Key Benefits | Common Drawbacks | Typical Dosage Range |
|---|---|---|---|
| Chlorine | Fast-acting disinfection | Strong odour; can cause irritation | 1-3 ppm |
| Bromine | Gentler on skin and eyes | Slower to activate; more costly | 2-4 ppm |
| Mineral Systems | Lower chlorine usage | Higher initial cost; may require supplement | Dependent on brand |
Expert Recommendation Always keep a log of your water treatment actions to track chemical usage and maintain consistent water quality.
Step 5: Check the System and Chemical Balance
Checking the system and chemical balance is the final crucial stage in getting a safe, enjoyable soak. This step involves thorough testing and calibration to guarantee good water quality and reliable equipment.
Establish a systematic maintenance routine that includes weekly testing and careful monitoring. Use a professional digital testing kit to check the key parameters such as pH, total alkalinity and sanitiser concentration. Aim for a pH between 7.2 and 7.8, total alkalinity between 80 and 120 parts per million, and chlorine or bromine between 1 and 3 parts per million. These precise readings keep the water safe and prevent equipment damage.
For quick reference, here are the ideal water quality parameters for good tub performance:
| Parameter | Ideal Range | Purpose |
|---|---|---|
| pH | 7.2 - 7.8 | Comfort, equipment protection |
| Total Alkalinity | 80 - 120 ppm | pH stability |
| Chlorine/Bromine | 1 - 3 ppm | Sanitisation |
| Calcium Hardness | 175 - 250 ppm | Prevents scaling/corrosion |
Test all the system components methodically. Run the jets at different speeds to confirm good circulation and listen for any unusual noises or vibrations. Inspect the filter for cleanliness and wear. Check that all electrical connections are secure and the temperature controls read accurately. Keep a close eye on water clarity, since crystal clear water points to a well-balanced system. Deal with any irregularities straight away to prevent long-term upkeep problems.
Expert Recommendation Maintain a detailed log of all water test results and maintenance actions to track your hot tub’s performance and identify any emerging patterns or potential problems.
Make Hot Tub Setup Simple with Zagosa Spa & Pool
Setting up a hot tub in the UK involves careful site checks, precise positioning, expert electrical and plumbing connections and meticulous water treatment. You want lasting enjoyment without the stress of complicated upkeep or safety worries. The main challenges are holding the ideal pH and sanitiser levels, keeping the system working well and protecting your investment with quality products made for UK conditions.
Zagosa Spa & Pool understands these priorities and offers a wide range of quality water treatment products to keep your spa safe and inviting. Our expertise helps you hold perfect water balance and hygiene, in step with the guidance in your setup journey.
Ready to take the hassle out of your hot tub care? Discover trusted solutions made for your needs today.
Explore our carefully selected range of hot tub chemicals and spa essentials at Zagosa Spa & Pool. Start your routine with confidence, backed by expert advice and quality products made for UK homeowners like you. Visit Zagosa Water Treatment and make your hot tub experience effortless from setup to soak.
Frequently Asked Questions
What should I check when assessing my site?
Examine the ground surface to make sure it is level and stable enough to hold the tub's weight. Aim for concrete or purpose-built decking, and keep at least 1.5 metres from your house to prevent moisture damage.
How do I position my tub safely in the garden?
Place the tub on a reinforced surface that can take its weight, ideally a solid concrete pad or a similarly robust platform. Keep clear access for upkeep and make sure the area drains well to avoid pooling.
How do I connect the electrics and plumbing properly?
Hire a qualified electrician to install a dedicated outdoor circuit with RCD protection, in line with local guidelines. For plumbing, make sure you have a nearby water source and a drain point for easy water changes, which prevents potential hazards.
How do I fill and treat the water correctly?
Fill with a garden hose until the level is about 2.5 centimetres above the highest jet. Test and balance the chemistry, aiming for a pH between 7.2 and 7.8, and treat with sanitising chemicals according to your tub's volume.
What routine verifies the system and water balance?
Set a weekly routine that includes testing for pH, alkalinity and sanitiser levels. Make sure all the components are working properly and keep a log of results to spot issues early.
How do I keep the area around the tub safe?
Fit adequate lighting and handrails and keep the area clear of overhead obstacles. Design pathways with non-slip surfaces to prevent accidents and make access easy.