By The Zagosa Team. Published .
Reviewed or updated .
Cleaning a hot tub cover looks like a job you can do with whatever is under the sink, and plenty of people do. But the wrong cleaner can knock years off the cover's life. Overly strong soaps strip the protective coating and cause the material to break down early. The trick is gentle preparation and the right method, not hard scrubbing or fancy chemicals.
On This Page
- Step 1: Set Up Your Space
- Step 2: Clear Debris and Look It Over
- Step 3: Mix and Apply Your Cleaner
- Step 4: Scrub Gently and Rinse Well
- Step 5: Dry Off and Check for Damage
The Short Version
| Key Point | Explanation |
|---|---|
| 1. Gather all necessary cleaning supplies | Before cleaning, collect soft cloths, mild soap, water, gloves, and a bucket to ensure efficiency and thoroughness. |
| 2. Remove debris and inspect the cover | Clear loose debris and check for damage such as tears or discolouration to maintain the cover’s integrity. |
| 3. Use a mild cleaning solution | Mix lukewarm water with mild soap to protect the cover while effectively removing dirt and grime. |
| 4. Scrub gently and rinse thoroughly | Use soft tools to scrub the cover without damaging it, ensuring all soap and dirt are rinsed away completely. |
| 5. Dry the cover and check for damage | Pat the cover dry with soft towels, then inspect for issues like cracks or mould to maintain safety and functionality. |
Step 1: Set Up Your Space
Before you start on the cover itself, getting your work area ready pays off. Good preparation makes the whole job quicker and more thorough, and it protects both the cover and everything around it.
Gather your kit in one spot first. You will want soft microfibre cloths, a mild soap solution, water, protective gloves and a clean bucket. Choosing the right materials is what stops you damaging the cover's surface, so steer well clear of harsh chemical cleaners or anything abrasive that could wear down the protective coating.
Pick a well-ventilated outdoor spot with room to move around the cover. A clean, flat surface such as a concrete patio or a roomy driveway is ideal, giving you space to spread the cover out without picking up more dirt. Clear away any debris or grime nearby that might get in the way.
Public swimming pool and hot tub technical guidelines suggest creating a controlled cleaning environment to keep contamination down.[1] In practice, that means wearing gloves so cleaning solutions do not touch your skin, and keeping the workspace clean throughout.
Mix a cleaner from mild soap and lukewarm water. Do not drench or soak the cover, as too much water can harm the material or encourage mould. Keep the mixture gentle so it lifts dirt and grime without harming the cover.
Quick preparation checklist:
- Gather all cleaning supplies
- Select appropriate cleaning solution
- Choose a clean, well-ventilated area
- Wear protective gloves
- Ensure adequate workspace
Take a little care over this first stage and you set yourself up for a successful clean. The attention you put in now feeds straight into how well the later steps go and helps keep your cover looking good and lasting longer.
Here is a checklist-style table so you can confirm your area is ready before you begin.
| Preparation Task | Purpose | Tips |
|---|---|---|
| Gather all cleaning supplies | Ensure efficiency and thoroughness | Have microfibre cloths, gloves, a bucket, and mild soap ready |
| Select appropriate cleaning solution | Protect cover from damage | Only use mild, non-abrasive soap and lukewarm water |
| Choose a clean, well-ventilated area | Prevent contamination and damage | Use an outdoor space such as a patio or driveway |
| Wear protective gloves | Avoid skin irritation and contamination | Always use gloves when handling cleaning solutions |
| Ensure adequate workspace | Allow easy manoeuvring and prevent further mess | Clear dirt and debris from the area beforehand |
Step 2: Clear Debris and Look It Over
Clearing debris and giving the cover a proper once-over is a key step for keeping it in good shape. It flags up damage, stops small problems getting worse and makes the actual cleaning more effective.
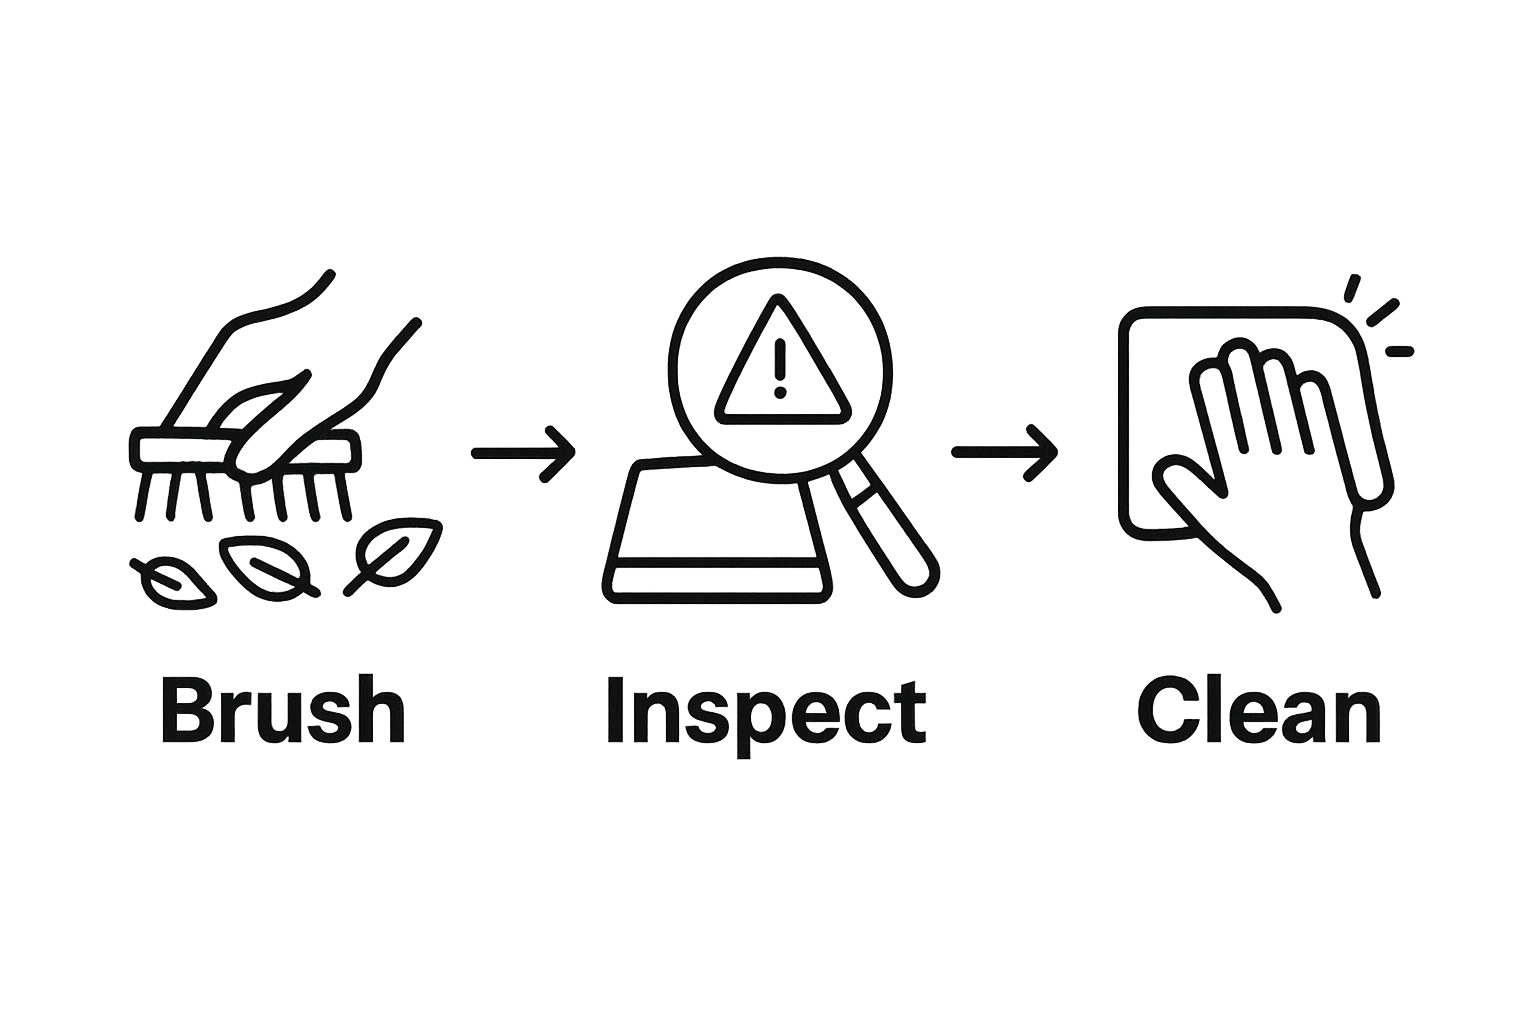
Start by gently lifting off any loose debris, fallen twigs, dead insects, dried leaves or built-up dust, with a soft-bristled brush or a clean microfibre cloth. Work across the whole surface in an orderly way, starting at one edge and moving methodically so you miss nothing. Give extra care to corners and crevices, where debris gathers and can eat away at the material.
As you clear the surface, look the whole exterior over carefully. Watch for wear such as small punctures, tears, discolouration or spots where the protective coating is going. Minor damage can snowball if you leave it, so catching it early is the best way to make the cover last.
According to Public Swimming Pool and Hot Tub Technical Guidelines, regular inspection is central to heading off health risks and keeping equipment sound.[2] Check the underside too, for signs of moisture damage, mildew or deterioration you might not spot from the top.
Key areas to check as you clear debris:
- Surface integrity
- Stitching and binding
- Colour changes or discolouration
- Potential moisture damage
- Structural weaknesses
Pay close attention to the seal and the insulation. Look for anywhere the seal might be failing, since that hits the tub's heat retention and running costs. Press gently along the edges to check the cover still holds its shape and does its protective job.
Once you have cleared the debris and finished your inspection, you are set for the next stages. A careful look now keeps the cover looking right and heads off longer-term damage.
Step 3: Mix and Apply Your Cleaner
Mixing and applying the right cleaner takes a bit of care and the right choice of product. The aim is a mixture that shifts dirt and grime without harming the cover's delicate surface.
Start with a mild, non-abrasive cleaner made for hot tub covers, or a gentle pH-neutral soap. Avoid harsh chemical cleaners, bleach and household detergents, all of which degrade the protective coating. In a clean bucket, mix lukewarm water with a little mild soap for a gentle solution that cleans without causing wear.
Concentration matters here. Use roughly one teaspoon of mild soap per litre of water, keeping it on the weak side. Too strong and you strip the protective treatments off the cover, which brings on early deterioration. Stir gently for a light, sudsy mix that cleans well without a mountain of foam.
According to Health and Safety Executive Guidelines, the right cleaning solutions are key to hygienic spa environments and avoiding health risks.[2] Wear gloves as you mix, to protect your skin and handle the agents safely.
Cleaner preparation checklist:
- Select mild, non-abrasive soap
- Use lukewarm water
- Maintain proper soap-to-water ratio
- Wear protective gloves
- Mix thoroughly but gently
Apply the cleaner with a soft, clean microfibre cloth. Work in small sections, using gentle circular motions to lift dirt without pressing hard. Do not soak the cover; a slightly damp cloth cleans well while keeping water from pooling or seeping into the cover's inner layers.
Watch how the cover responds as you go. Some spots may need a touch more attention, but always keep the pressure light. The goal is to clean without stressing the material. Once the whole surface is done, you are ready to rinse and dry.
This table sums up the main steps, their purpose and the important details, as a quick overview of the whole job.
| Step | Purpose | Key Details |
|---|---|---|
| Prepare cleaning area | Set up for safe and effective cleaning | Gather supplies, select location, and wear gloves |
| Remove debris & inspect cover | Prevent further damage and spot issues | Use soft tools, check for tears, punctures, or discolouration |
| Mix & apply cleaning solution | Clean without damaging cover | Use mild soap, avoid soaking, apply with a microfibre cloth |
| Scrub & rinse thoroughly | Remove stubborn dirt while protecting cover | Gentle circular motion, rinse away all residue with cool water |
| Dry & inspect for damage | Prevent mould and maintain cover lifespan | Pat dry, air dry in shade, check for cracks or split seams |
Step 4: Scrub Gently and Rinse Well
Scrubbing and rinsing is the stage that makes or breaks the whole clean. It calls for a light touch and a methodical approach so you shift all the dirt without harming the surface.
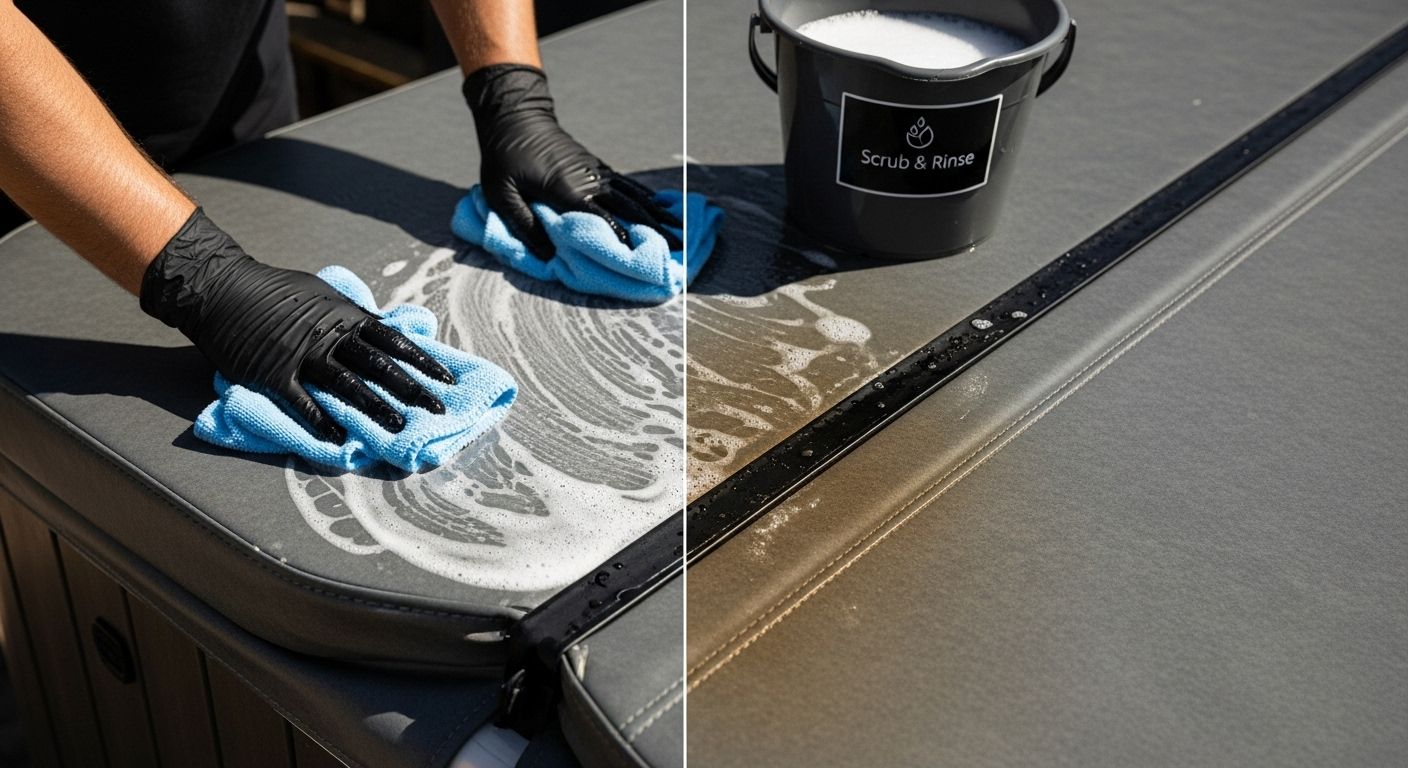
Pick a soft-bristled brush or a microfibre cloth and work in gentle circles across the cover. The knack is steady, light pressure that lifts dirt without scuffing the material. Start at one edge and work across the whole surface so nothing gets missed. Give textured sections or heavier dirt a little more attention with slightly more focused circles.
Keep the motion even so you are not bearing down hard on any one spot. Uneven scrubbing can weaken the protective coating, so use a balanced, sweeping technique that spreads the effort. If you hit a stubborn mark, resist the urge to scrub hard. Let the cleaner sit for a moment, then work the area gently with only a little extra pressure.
According to East Renfrewshire Council's Spa Maintenance Guidelines, regular, thorough cleaning is essential for keeping bacteria at bay and the spa hygienic.[2] Once scrubbed, rinse the cover well with clean, cool water, using a garden hose on a gentle spray or a clean bucket to clear every trace of soap.
Rinsing checklist:
- Ensure no soap suds remain
- Check for complete dirt removal
- Inspect surface for uniform cleanliness
- Confirm water runs clear
- Verify no remaining cleaning solution
As you rinse, tilt the cover a little so water runs off rather than pooling and soaking into the material. Work top to bottom so all the soap and dirt come away. Use clean water and swap it if it turns dirty, so you are not putting grime back on a freshly cleaned surface.
When you are done rinsing, take a look. The surface should be evenly clean, with no soap residue or dirty patches. That care means the cover is not just surface-clean but properly restored.
Step 5: Dry Off and Check for Damage
Drying and inspecting the cover is the final step, turning a clean surface into a well-kept protective barrier. It is more than mopping up water; it is your chance to size up the cover's overall condition.
Dry off with clean, soft terry towels or microfibre cloths. Pat and blot rather than rubbing hard, which could mark the surface. Work across the whole cover, giving extra care to seams, edges and textured areas where water gathers. Do not leave damp patches, as lingering moisture invites mould and material breakdown.
Once the towels have taken off most of the water, let the cover air dry fully somewhere well ventilated and out of direct sun. Too much heat or long spells in the sun break the material down, so pick a shaded spot with good airflow. Stand the cover upright or on a slight angle so it drains and dries properly.
According to Devon and Somerset Trading Standards Guidance, a proper post-clean inspection is fundamental to safety and long life. As it dries, go over the whole surface by eye and by hand.
Damage inspection checklist:
- Check for material cracks or splits
- Examine stitching integrity
- Look for discolouration or material weakening
- Verify seal and insulation properties
- Confirm no signs of mould or mildew
Run your hands gently over the cover, feeling for odd textures, soft spots or anything that hints at damage underneath. Pay special attention to the edges, corners and attachment points. Watch for fraying stitching, thinning material or spots where the protective coating is giving way.
If you find anything serious, think about a professional repair or a replacement. Small tears or loose stitching can often be sorted with a spa cover repair kit, but heavy damage may mean a new cover to keep the tub efficient and protected.
Protect Your Hot Tub with the Right Cleaners
You have seen how careful, thorough cleaning keeps a hot tub cover in good order and your spa free of damage and mould. Even after all that effort clearing debris, choosing safe cleaners and checking for hidden faults, you might still worry about accidental damage from harsh chemicals or missing the right products for the long run. Small slips like that can lead to pricey repairs, poor insulation and unwanted bacteria.

Get the most from your routine with water treatment solutions made and tested for hot tub care. At Zagosa Spa & Pool, our spa essentials and hot tub chemicals are expertly made and trusted by spa professionals up and down the country. Ready to protect your cover and enjoy a worry-free soak? Take a look at our full range and see how easy upkeep can be. Visit the Zagosa Spa & Pool main site and take charge of your hot tub's health with quality products.
Frequently Asked Questions
How often should I clean my hot tub cover?
It is advisable to clean your hot tub cover every 1-3 months to maintain its condition and prevent dirt buildup or mould growth.
What cleaning products are safe to use on a hot tub cover?
Use a mild, non-abrasive soap or a pH-neutral cleaning solution specifically designed for hot tub covers. Avoid harsh chemicals and abrasive materials.
How can I prevent damage while cleaning my hot tub cover?
To prevent damage, gather soft microfibre cloths, use a gentle soap solution, avoid soaking the cover, and scrub gently without applying excessive pressure.
What should I look for when inspecting my hot tub cover?
During inspection, check for any cracks, tears, colour changes, or issues with stitching. Ensure that the seal is intact and there are no signs of mould or mildew.
Recommended
- Essential Hot Tub Maintenance Checklist for 2025 Success
- 5 Hot Tub Water Problems
- How to Winterise Your Hot Tub
- Blog
- Cleaning Disc Golf Discs
- How to Install Glass Mosaic Tile in a Pool ( 10 steps to follow )
Sources and review
Reviewed on . Next review due .
- PWTAG technical notes on pool and spa water treatment - Pool Water Treatment Advisory Group
- HSG282: The control of legionella and other infectious agents in spa-pool systems - Health and Safety Executive