By The Zagosa Team. Published .
Reviewed or updated .
UK households often sink more than 300 pounds a year into looking after a hot tub, yet plenty of owners still battle grubby water and tired-looking shells. A proper clean is about far more than ticking off a weekend job. Done right, it keeps the water safe, stretches the life of the kit and makes every soak more pleasant. What follows is a straightforward, ordered routine that even brand-new owners can follow with confidence.
What's covered
- Get set up and collect your cleaning kit
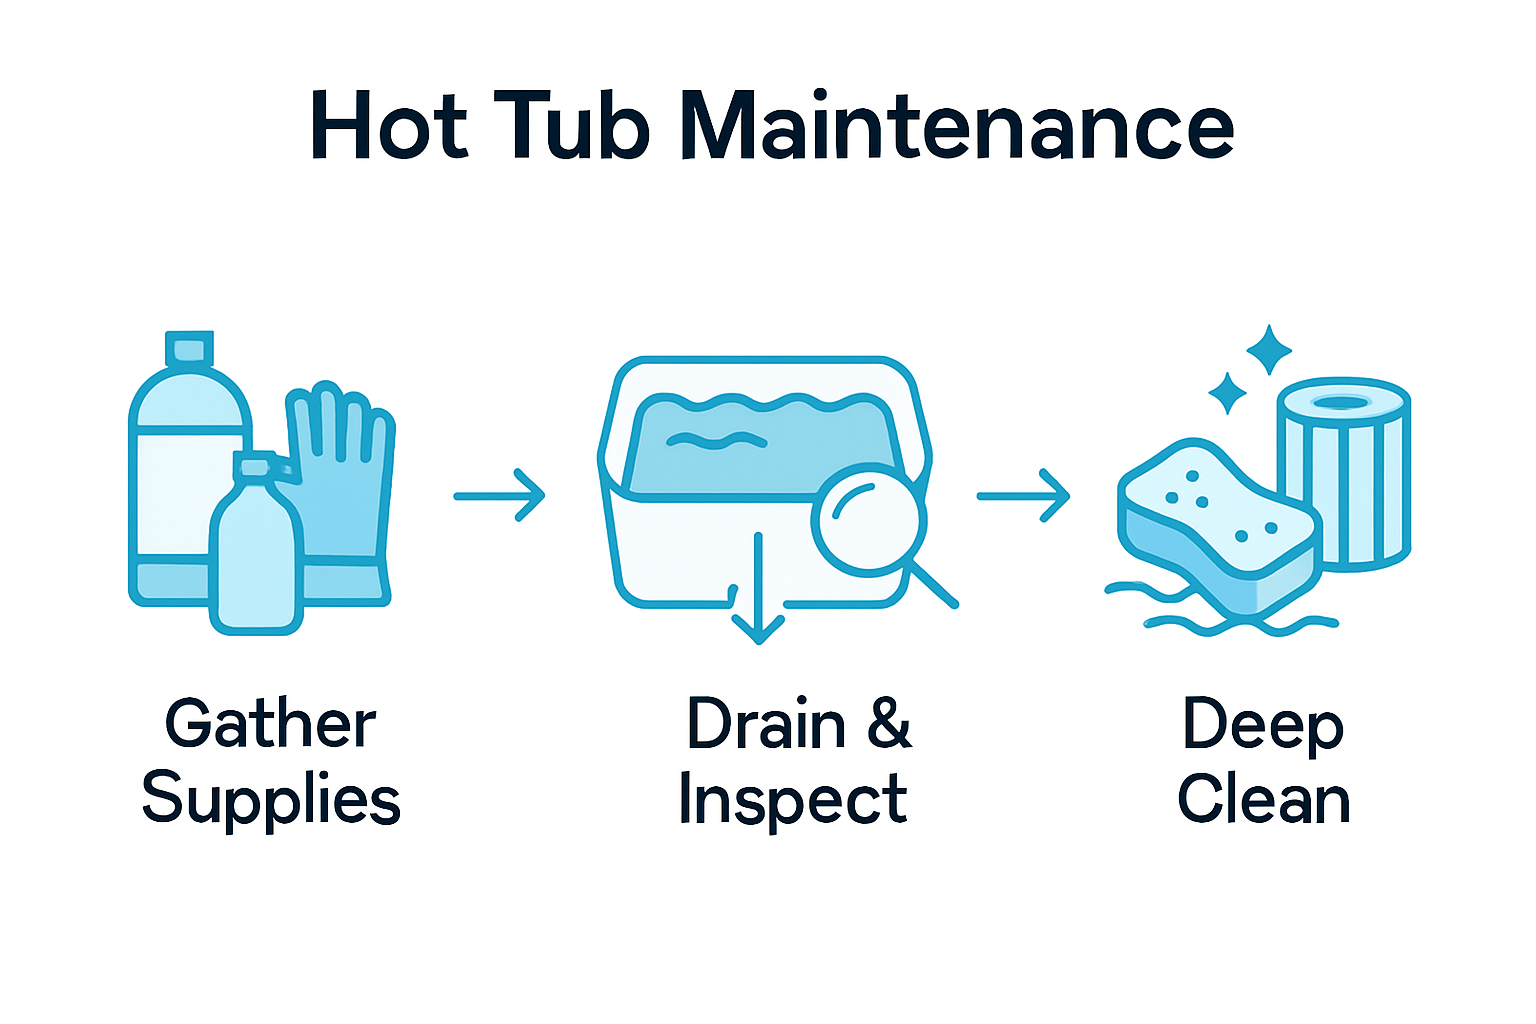
- Drain down and give everything a close look
- Work the surfaces with spa-safe products
- Rinse and service the filter
- Refill and get the chemistry right
- Final checks before you soak
The short version
| Takeaway | What it means |
|---|---|
| 1. Have your kit ready | Line up spa-specific products, soft cloths, gloves and test strips before you touch the water. |
| 2. Inspect while it drains | Empty the tub and check jets, headrests and seals for wear or biofilm as you go. |
| 3. Stick to gentle cleaners | Use non-abrasive, pH-neutral spa cleaners that lift grime without harming the shell. |
| 4. Look after the filter | Rinse and deep-clean the cartridge regularly so filtration keeps doing its job. |
| 5. Balance the refill | Fill with clean water and set pH and alkalinity before anyone climbs in. |
Get set up and collect your cleaning kit
A tidy start makes the whole job quicker. Trading Standards Service suggests pulling together everything you need before you begin rather than dashing about mid-clean.
Aim to have spa-specific cleaning products, a handful of soft microfibre cloths, a skimmer net, water test strips, rubber gloves and a dedicated spa surface cleaner within arm's reach. East Renfrewshire Council stresses picking products that will not undermine disinfection, so stick to cleaners made for spa shells that are non-abrasive and pH neutral.
Clear the ground around the tub so you have room to move, and lift the cover off carefully, resting it somewhere clean where it will not pick up grit. With supplies laid out and the area sorted, the rest of the clean runs far more smoothly.
Drain down and give everything a close look
Emptying the tub and inspecting it properly is where you catch problems early. East Renfrewshire Council recommends a thorough weekly routine built around fully draining the system.
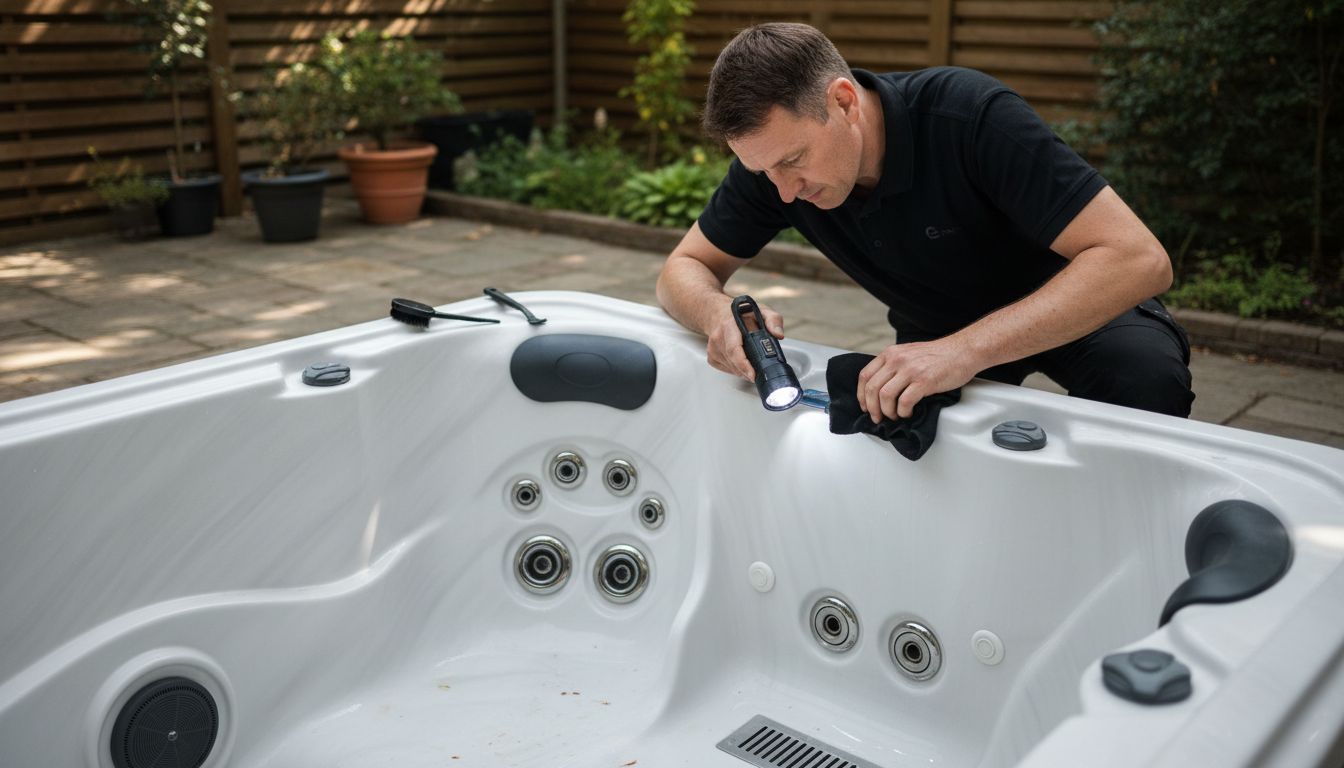
First, cut the power for safety. Fit a garden hose to the drain valve and send the water somewhere suitable. As it empties, Devon Somerset Trading Standards advises a careful visual once-over: run your eye across jets, headrests, cover seals and the interior for wear, damage or any sign of biofilm forming.
Give the awkward spots extra attention, behind headrests and around the jet fittings especially. Watch for calcium deposits, discolouration or hairline cracks that hint at trouble ahead. Wipe surfaces down with a soft cloth and check the seals and gaskets for perishing. Spotting small faults now saves bigger bills later.
Work the surfaces with spa-safe products
Cleaning the shell is about the right product and a light touch. East Renfrewshire Council makes the point that whatever you use must not get in the way of the tub's disinfection later on.
Reach for a surface cleaner made for spa materials. Devon Somerset Trading Standards recommends following the maker's instructions closely so you stay within health and safety guidance. Apply the cleaner with a soft microfibre cloth and work your way methodically around the interior, paying particular attention to the waterline, the corners and the areas around jets where grime and biofilm gather.
Use gentle circular motions to spread the solution and cover everything, without heavy scrubbing that could mark the surface. Rinse well with clean water so no residue is left behind. Bear in mind that shells vary, some materials are more delicate than others, so take it steady to keep the finish intact while still getting it properly clean.
Rinse and service the filter
The filter does a lot of quiet work, so it pays to keep it in good order. East Renfrewshire Council suggests regular checks and proper cleaning to head off contamination.
Take out the cartridge and rinse it under clean water to shift loose debris. Devon Somerset Trading Standards points to following the correct steps for reliable filtration. For a deeper clean, use a dedicated filter cleaning solution and soak the cartridge for the time stated to break down oils, scale and trapped grime.
Once cleaned, look the filter over for damage. Replace it if you see tears, heavy discolouration or anything structurally amiss, since the filter is your first defence against bacteria and murky water. Refit the clean cartridge carefully so it seats securely and lines up properly for the best filtration.
Refill and get the chemistry right
East Renfrewshire Council underlines how much water balance matters when you refill. It is not just about clear-looking water, it keeps the tub safe and protects the kit too.
Devon Somerset Trading Standards suggests a steady, ordered refill. Start with fresh water from a clean source, ideally through a garden hose fitted with a sediment filter. Fill slowly to the recommended level, roughly 2.5 centimetres above the top jet, so the water circulates properly and the pump is not left starved.
With the tub full, use a decent test kit to check and adjust the chemistry. Aim for a pH of 7.2 to 7.8 and total alkalinity between 80 and 120 parts per million. Add products a little at a time and let each addition circulate fully before you retest. Get this right and the water will not only look crystal clear, it will feel comfortable and stay safe to use.
Final checks before you soak
East Renfrewshire Council recommends a proper final check so you know the clean has landed. This last step confirms all your effort has paid off.
Devon Somerset Trading Standards suggests a systematic run-through. Cast an eye over every surface for missed spots or leftover residue. Test the water one last time, confirming pH, sanitiser and alkalinity all sit where they should. Run the jets for a few minutes to get the water moving, and listen out for any odd noises that could point to a mechanical niggle.
Check clarity by looking right to the bottom of the tub, which should be clear with no cloud or tint. Confirm the pumps, heater and filtration are all behaving. A thorough final check leaves you sure the tub is not just clean but running well and ready for a relaxing, safe soak.
Keep Your Hot Tub Spotless with Expert Care and Premium Products
Keeping a hot tub clean and balanced, as this guide sets out, can feel like a lot at first. Draining, inspecting, cleaning the filter and balancing the water all matter if you want to protect your investment and enjoy a safe soak. Working out which spa-safe cleaners and treatment products genuinely help, without harming the shell or filter, is often the tricky part.
Zagosa Spa & Pool gets that, which is why we offer a trusted range of premium hot tub chemicals and spa essentials built for safe, effective upkeep. Whether you want an easier rinse, steady pH or better filtration, our products are up to the job.
Browse the full range of carefully tested hot tub solutions at Zagosa Spa & Pool and see how the right products make looking after your spa simpler. Start today and keep your hot tub fresh, hygienic and inviting all year round.
Frequently Asked Questions
How should I prepare before cleaning my hot tub?
Gather your kit first: spa cleaning products, microfibre cloths, a skimmer net and test strips. Clear the space around the tub and lift the cover off onto a clean surface so it does not pick up dirt while you work.
What's the right way to drain and inspect the tub?
Cut the power, connect a hose to the drain valve and direct the water somewhere suitable. As it drains, check jets, headrests and surfaces for wear or biofilm, and take your time with the harder-to-reach areas.
How do I clean the surfaces without damaging them?
Use a spa-specific surface cleaner and a soft microfibre cloth. Work in gentle circular motions, focus on the waterline and corners, then rinse everything thoroughly so no residue is left behind.
What does the filter need?
Take the cartridge out, rinse it to shift debris, then soak it in a filter cleaning solution for a deeper clean. Check it over for wear and refit it securely so it keeps the water clear.
How do I know the water is properly balanced?
After refilling, test with a reliable kit. Aim for pH between 7.2 and 7.8 and alkalinity of 80 to 120 parts per million, adding products a little at a time and letting each addition circulate before you retest.
What final checks are worth doing?
Look over the surfaces for missed spots, test the water once more, then run the jets for a few minutes and listen for unusual noises. Confirm the equipment is working and the water is clear before you soak.